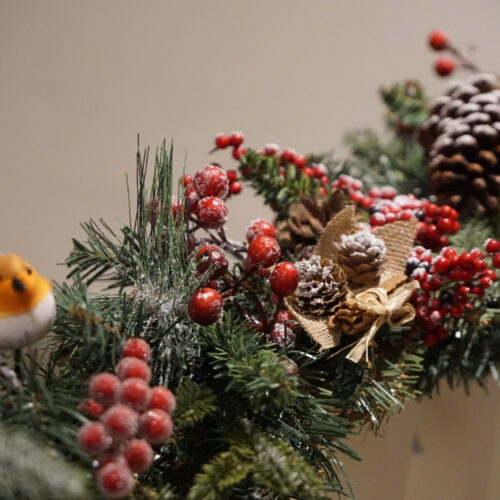
In this article we will show you how to make a Christmas garland on a budget – and no one will ever know it didn’t cost you so much more!
I’ve always admired the people (who seem to be mainly in the US), with the beautiful houses who go all out at Christmas time with their decorations. From top to bottom, their homes are covered in beautiful Christmas decorations. They have sweeping garlands over their fireplaces and down the stairs. Personalised Christmas decorations and stockings ready for Santa to fill. Plus a beautifully decorated tree and lights that cover their entire home. I’ve always thought it must be so hard to do, as well as being expensive and time consuming as well. So I’ve never really tried to do it myself – until now! This year I thought I’d look into it a bit more and see if I could create my own unlit Christmas garland on a budget.
Here’s how you can make the most realistic Christmas garland…
Related Post – Christmas Gifts Under £20
What You’ll Need For Your Garland
– Brown string
– Wire cutters
– Green garden wire
– Any festive, fake, small bouquets you want to include
– Pine cones (small)
I found going out for walks in late November the best time to find things like pine cones, sprigs of holly, berries and any other foliage you might want to include in your Christmas garland. Of course, you don’t have to include any live foliage, however it’s a great way to add a little extra to it without spending a fortune. Plus, you just can’t beat the smell of fresh holly leaves, or bunches of evergreens.
Where To Start
To start with, i got all of the bits and bobs i had collected over the year together and laid out in front of me so i could clearly see what i had, and how much i had. I then grouped things together – all the greenery, all the berries, the pines cones…etc.
Related Post – The Best Places To See Christmas Lights In London
To begin with I decided to focus on the stairs. I measured the length of the area I wanted to cover and then went out to find all the bits I needed. By getting one long piece of garland as the base, I could then build on it to create the look I wanted. Once you have the base in place and ready to go, you can secure it and start thinking about how to decorate it with all of your Christmas goodies.

Securing It In Place
I found that using brown string to tie the base to the stairs worked really well. This would hopefully mean it would all stay in place once I’d finished tinkering with it. Once I had the base piece in place and was happy with how it looked, I started to add smaller bits. The smaller bits were items I’d collected over the last few months. I’d hold the additions next to the base to see what looked good. When I was happy with the placement I’d then fix it in any way i could. Sometimes this meant using more string/wire but I tried to use as little as possible.
Related Post – DIY – Upcycled Vintage Chic Style Vase
As you can see from the main photo, I added things like pine cones, red berries, cinnamon sticks, robins and some more greenery. I also added some fairy lights under the garland which gives it a lovely subtle glow in the evenings.
Buy Your Own Garland
However, if all of that sounds like a bit too much, you could always buy yourself a Christmas garland from somewhere like Lights4Fun. They have a huge range to choose from – and they have so much more than just garlands to pick from in their Christmas lights range.
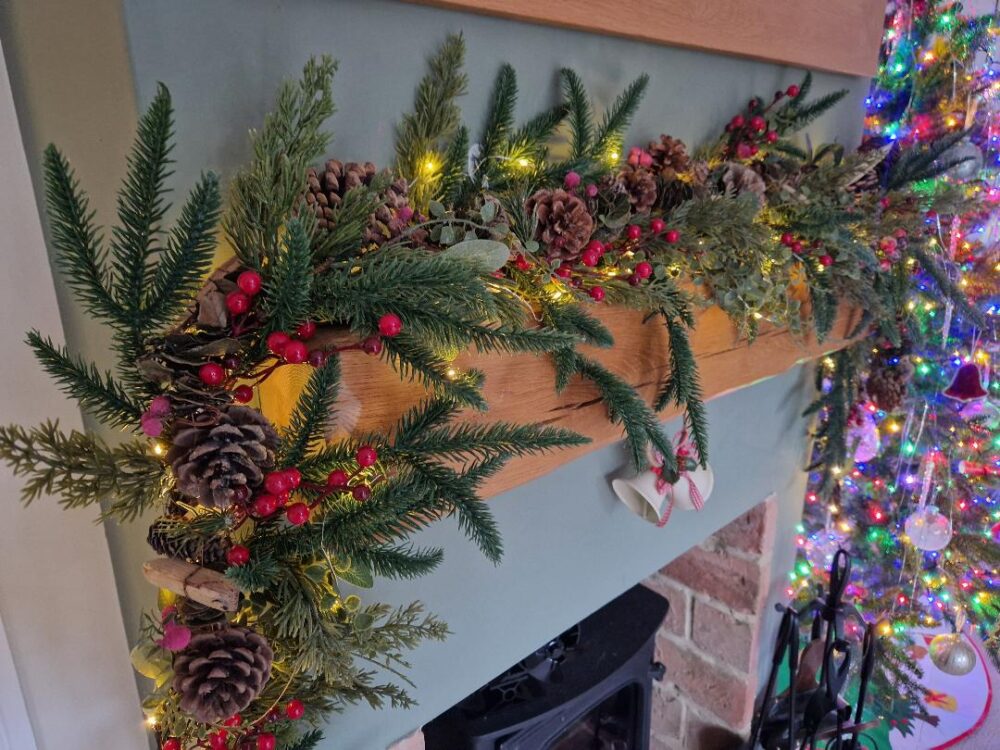
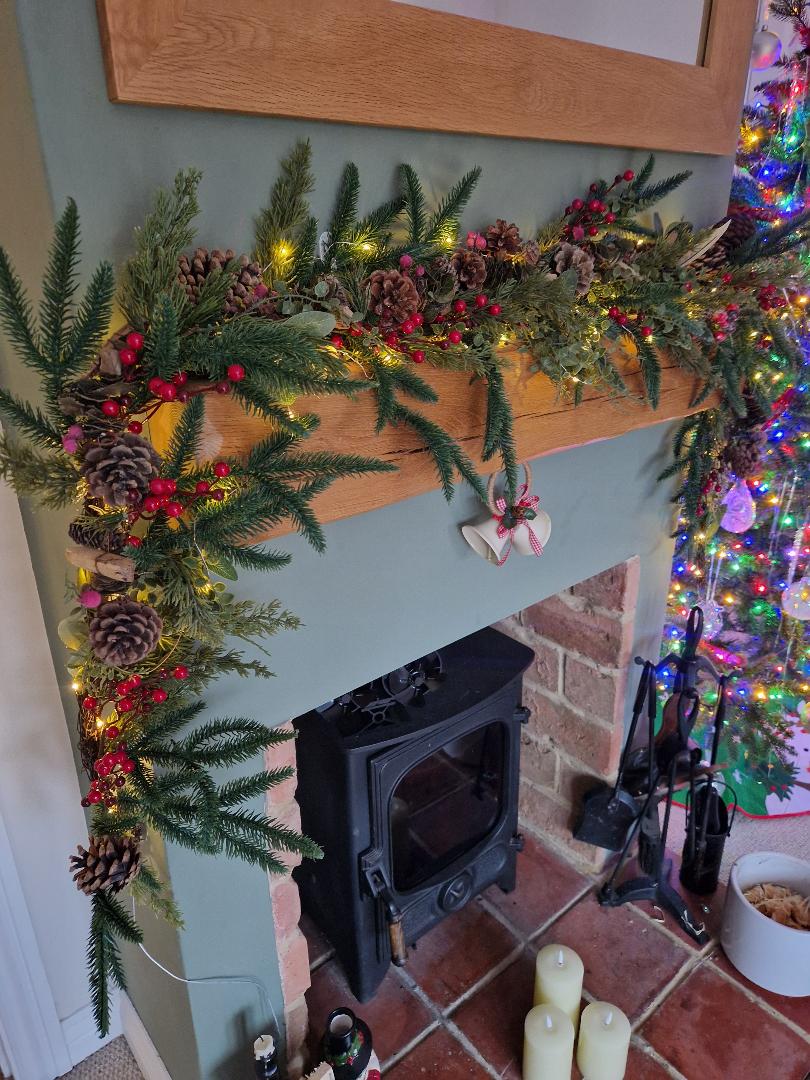
There’s everything from battery operated candles that really flicker, to a whole range of different sized fairy lights – and everything in between.
You can even get yourself a pre-lit garland (as featured above) so all you have to do is put it up and it’s ready to go!
What’s Next?
Next year i’ll try to add more bits down the rails or down the main post. However, I figured this year I would see how it went and if it stayed in place – which it did!
Related Post – How To Make This Christmas Less Stressful
I also think i will try adding some more fairy lights so that it looks even more amazing and Christmassy. Everything looks better with Christmas lights don’t you think?! The ones i used last time were just underneath the base of the garland which gave it a lovely glow, but adding some throughout along the top might make it look even better.
I found making my own Christmas garland so relaxing and therapeutic. If you find Christmas a little stressful, try doing a few crafty things like this to see if it helps you relax and enjoy the festivities more.
What would you include in your homemade Christmas garland?
Leave a Reply