
I LOVE the idea of up cycling items that would normally just end up on a rubbish heap somewhere. Especially if it could so easily be turned into something else, beautiful and practical. Like this upcycled pallet wall planter!
My husband works for a kitchen company that often has an excess of unused or recycled pallets. This got me thinking of pallet ideas. Wouldn’t it be great if I could repurpose a pallet to create something useful and beautiful?
I asked if he could bring home a few pallets to see what I could come up with. Actually having the pallets in our garden gave me the kick up the bum to do something with them. We now have x6 pallets waiting for me to do something with them.
So, I got on Pinterest and typed in – upcycled pallet wall planter to see what I liked the look of for inspiration.
What You’ll Need To Create Your Pallet Wall Planter
I didn’t realise just how easy it would be to turn old wooden pallets into something like a vertical planter. I have had no training in carpentry or anything like that. Here’s my step-by-step guide to creating your own upcycled pallet wall planter.
For the demolition and preparation of the pallets for this vertical garden you’ll need…
- A hammer
- A chisel
- An electric sander (lifesaver and SO worth the money)
- Furniture wax
- Paint brush
- Old cloth
- Clear yacht varnish
OK, so it is quite time-consuming – especially if you’re doing more than one, but it’s so worth it. I love how they look, but even more so, I love that it’s something I’ve created myself out of what would have been a piece of rubbish.
If you’re thinking of giving it a go yourself, just go for it, even if it takes you a while to do. It isn’t that hard and I bet you’ll love the feeling of accomplishment when you’ve completed it.

Breaking Down The Pallets
The pallets as they were when they arrived… As you can see, they were mostly in good condition, some more than others but they all needed some TLC. One had muddy boot prints all over it and others had nails sticking out or large splintered bits of wood sticking out from random places. Nothing major and the structure of them all was fine, it was more little touches here and there to get them ready.
The first thing for me to do was to break down the panels. As you can see (images above), most pallets come with feet and struts underneath them to make them so strong.
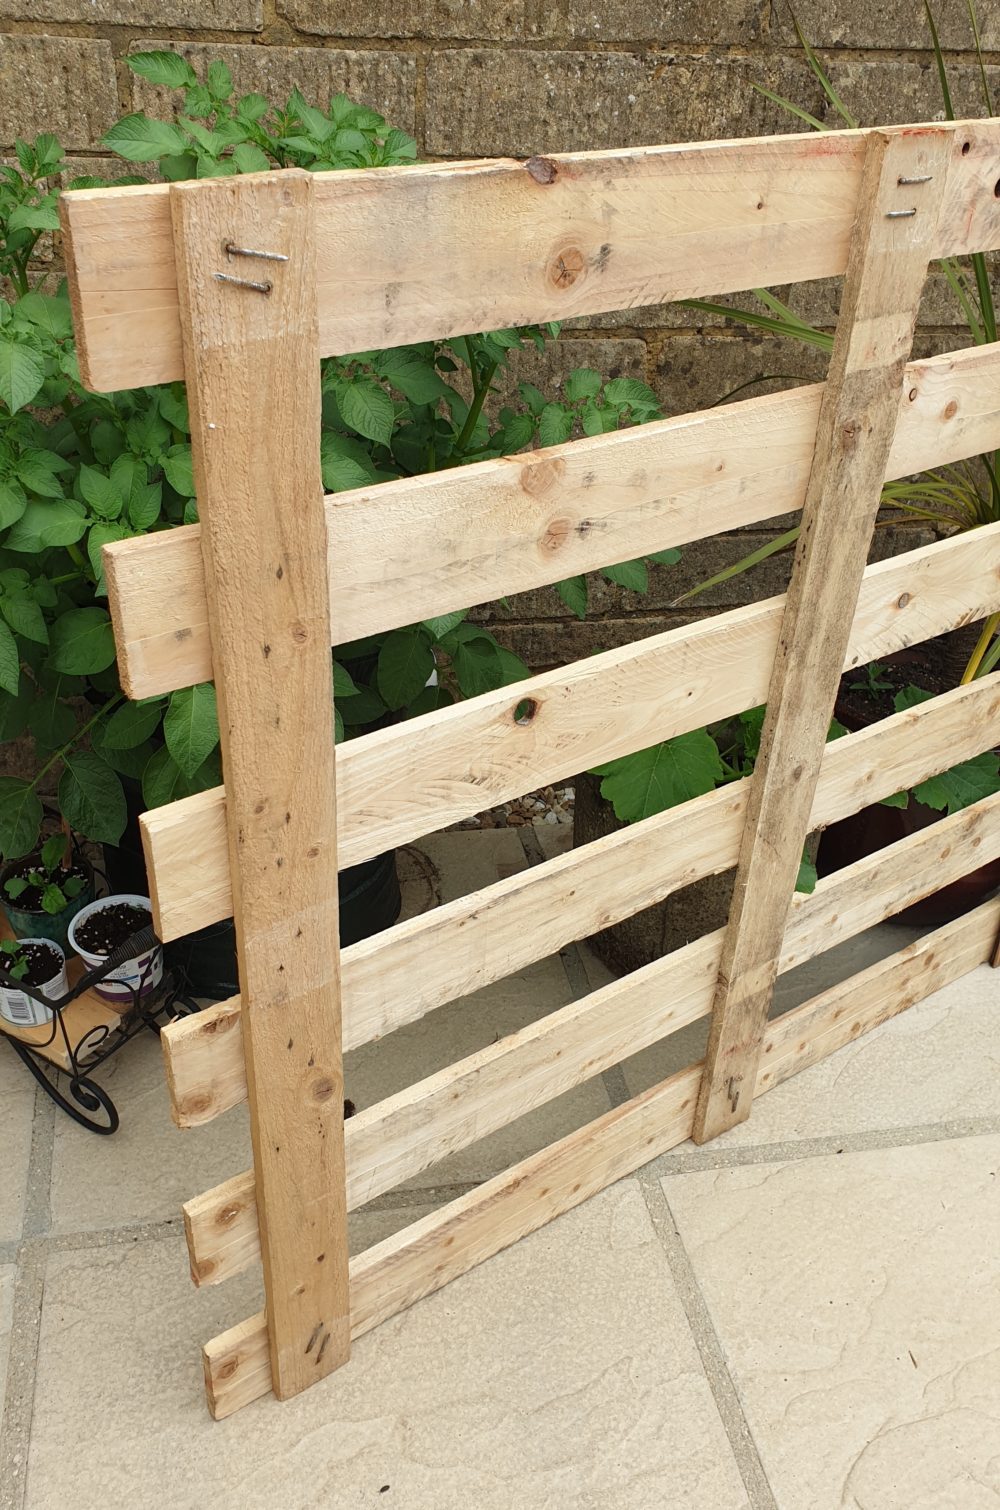
However, I didn’t need these bits for my project so they had to come off. The slats going across horizontally were the bits I needed. With the aid of a hammer and a chisel to wedge the feet away from the slats, I began breaking it down, taking off the sides of the pallet until I ended up with just the horizontal panels (image below).
Sand Down The Pallets
Once I had done that, I began sanding down the pallet wood. I love the look of the old wood, from the beautiful notches in the wood and the stories the pallets could tell so I didn’t want to get rid of these. I sanded down any really rough patches, or where the boot prints or any old logos were – so it was clean wood basically.

Once sanded down, I gave the pallets a good brushing off with a dry paint brush to ensure there was no left over saw dust so I could begin waxing. You could paint the pallets at this point but I chose to wax and varnish them for a natural finish.
The wax I used was Fiddes & Son in Rugger Brown. Using an old cloth I began rubbing the wax into the wood. The more wax you use, the darker the wood will become.
If you only rub it with the grain, you won’t get the darker patches that tell the stories, so I really went to town at rubbing it into every corner and crevice. I then left the wax to fully dry for about 24 hours before moving on to the next step.
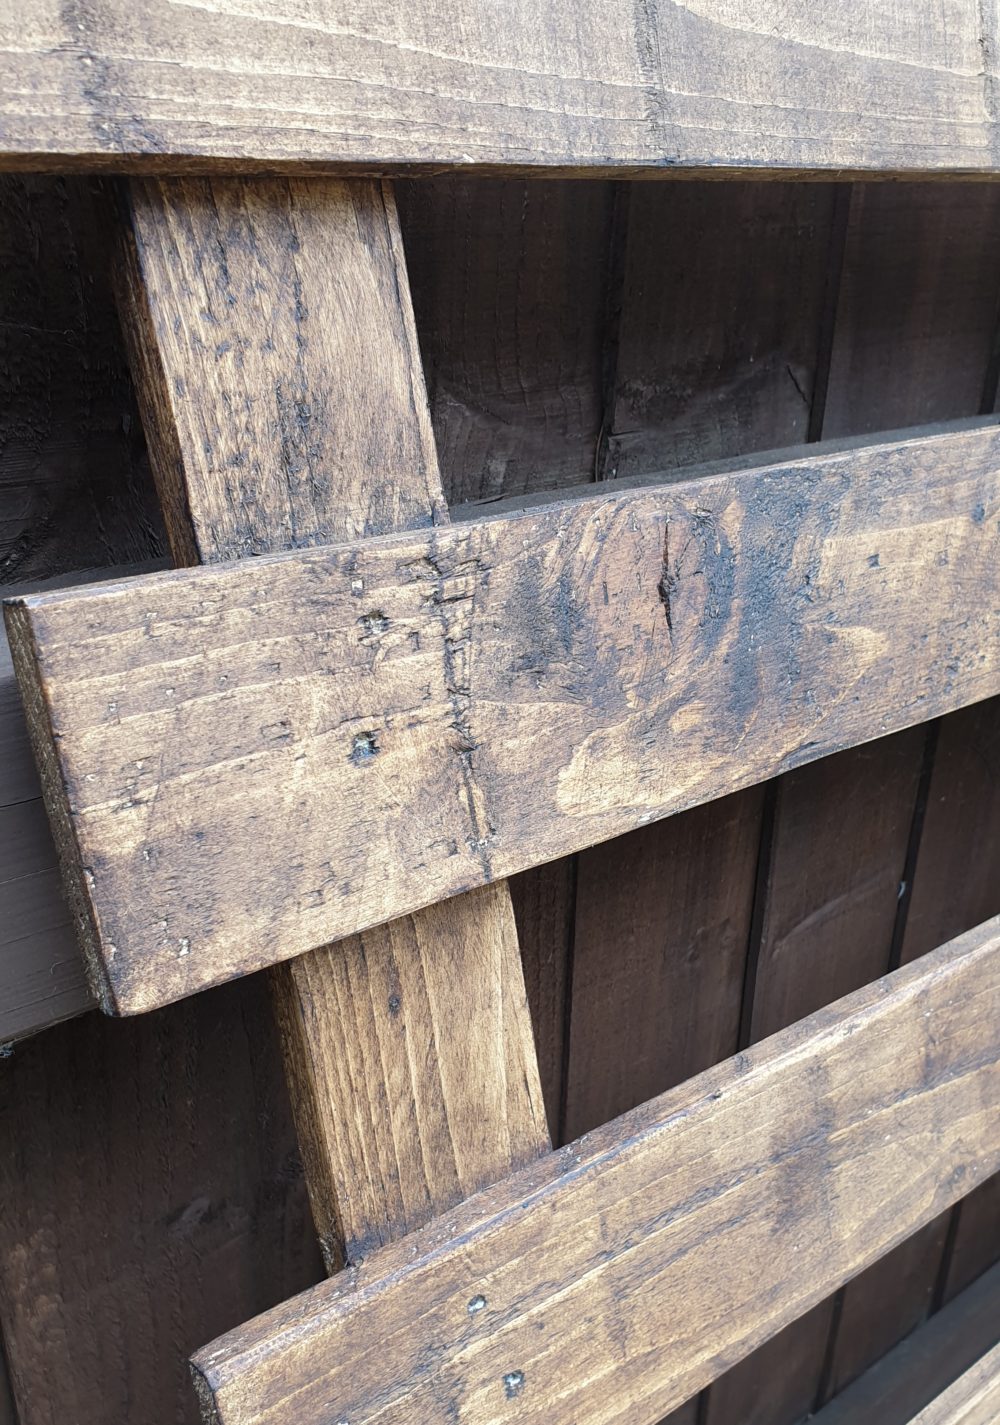
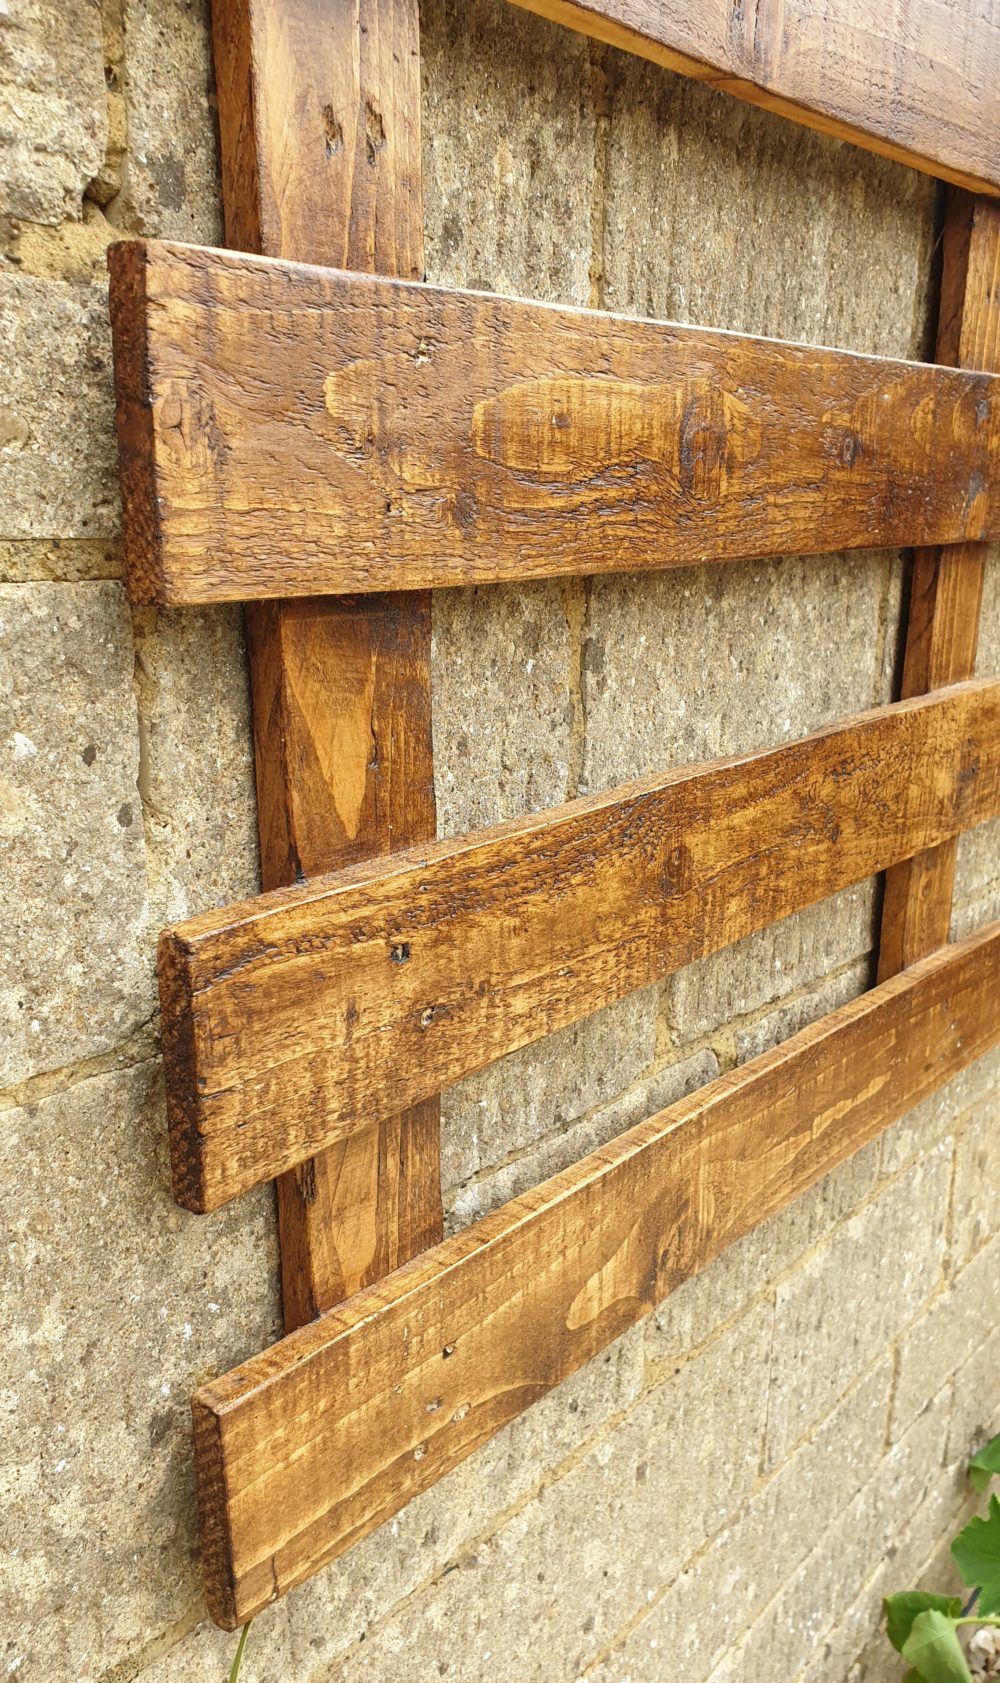
As these were going outside and would feel the full brunt of the English weather, I wanted to make sure they would be as protected as possible so I used a yacht varnish that is 100% waterproof over the top of the wax.
I actually only used one coat and that was enough. make sure you wait until the varnish no longer feels tacky (at least 24 hours), before you do anything else to them, otherwise you’ll end up with bits stuck to the varnish which does not look great!
What You’ll Need To Create The Planter
This really depends on what you plan on doing with your planters once you have finished but for me and this project I used…
- X4 plastic plant pots per pallet with a strong edge
- X6 extra long nails
- X4 short nails with a large head (to attach the pots to the pallets)
- A drill
- A pair of pliers
- Soil and plants
However, before you go out and buy everything, think about what you want to have growing in your pallet garden. For example, if you plan to make a herb garden, don’t buy huge pots as herbs generally don’t grow very big.
Once you’ve got your garden ideas in place, then you can go out and buy what you need. Knowing exactly what you’re looking for to create your garden wall.
Attaching The Pallet To The Wall
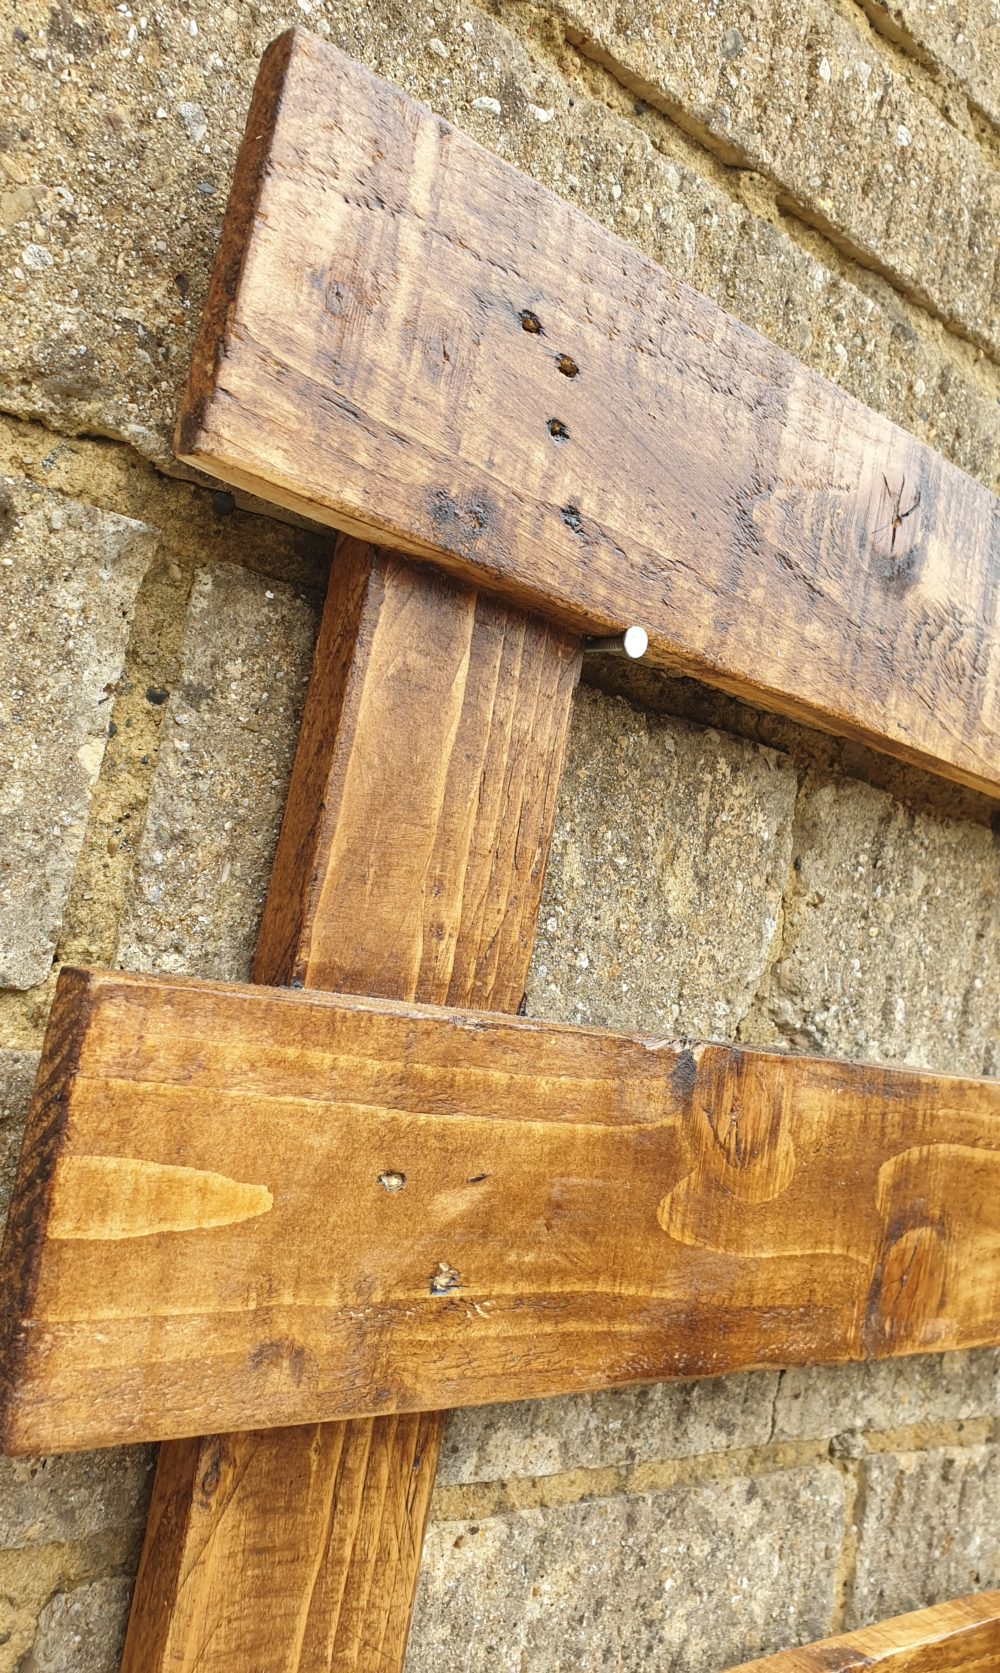
Depending on what you’re attaching your DIY pallet planter to will determine what you use. I used long nails that I hammered into the garage wall. My planter boxes aren’t heavy so long nails worked fine.
I inserted a nail under the inside of each corner at the edges. Then again on either side of the centre vertical slat to keep it secured at the top. I then used 2 nails under the bottom slat with the nail head slightly in front of the slat to keep it against the wall.
Attaching The Pots To The Pallet
It sounds a lot more complicated than it actually is. It’s more fiddly than difficult really. On the harder part of the plant pot, I drilled a small hole in the rim and hammered a nail through it.
Then with the pliers, I bent the nail over to create a small hook to hook over the slat of the panel. This is to keep the plant pot in place.
By doing it this way means if you ever want to change the look of the planter or take out the plant, you can do so without having to take anything apart. You can just unhook the pot – because it’s plastic it doesn’t weigh much and can be easily removed.
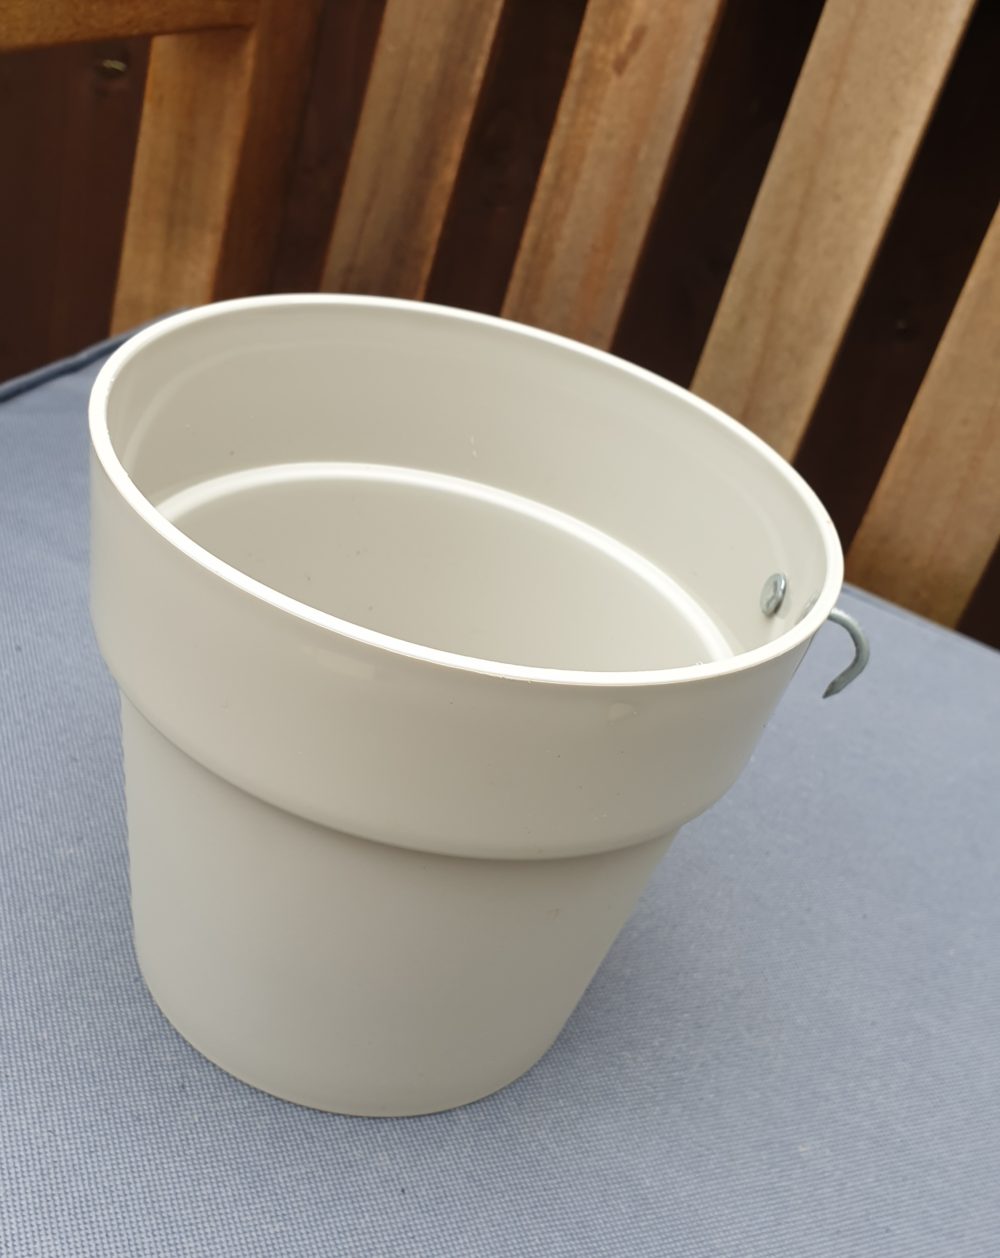
Last minute on this DIY project I decided to add a little bit of hessian rope around the rim of the plant posts to give them a little more of a rustic feel. To do this I simply super glued them on once I had cut the rope to the right size. If you glue them at the back where the nail is, you can’t see the join at all.

And that is pretty much all you have to do. It is quite time-consuming but it isn’t that difficult to do. This was my first ever attempt at doing something like this. You could even try to make some pallet furniture afterwards if you’re feeling brave!
Let me know if you try to recreate this upcycled pallet wall planter.
Leave a Reply