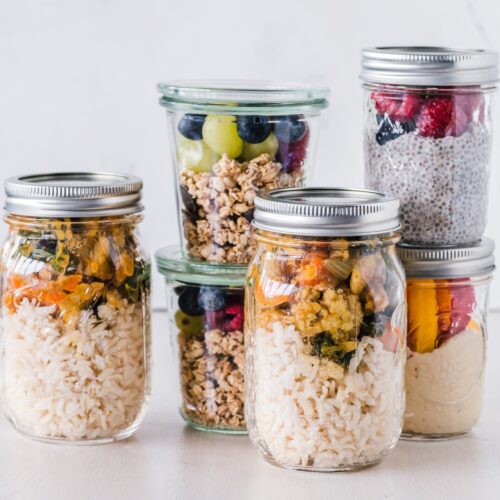
If you’re interested in learning how to meal prep, but have no idea where to start, you’ve come to the right place! In this article we will go through step by step how to start your meal prepping journey. Along with healthy meal prep ideas and what meal prep containers to use.
I started prepping my meals about 2 years ago, but stepped it up a gear about a year ago and it’s such a game changer! Meal prepping half-heartedly can actually waste more of your time. So, if you’re going to do it, do it properly. Having all of your meals prepped and waiting for you in the fridge or freezer, is the best feeling ever! Especially if, like me, you just can’t be bothered to make meals after a long day at work. It’s also a great way to track your food, meaning it’s perfect if you’re trying to loose weight.
Pre-prepping life would mean aimlessly walking around the supermarket, not having a clue what to get. So you end up wasting food because you’ve bought too much. You also then waste money as well. So, how do you prep your food properly?
Getting Started
Before you even begin to prep your meals, there are a few things you need to do first. This is to make sure when you do get started, you’ve got everything you need. There’s nothing worse than having to stop half way through to get more containers, or ingredients you thought you had.
Check Your Cupboards
Before you start, you need to know what food you already have in your cupboards/pantry. This way you won’t duplicate things by getting more than you need. It will also help you to spend less, and waste less!
Meal Prep Containers
Once you know what you have in your stores, you need to get yourself some meal prep containers or storage jars. If you can, opt for high quality glass ones that will last.
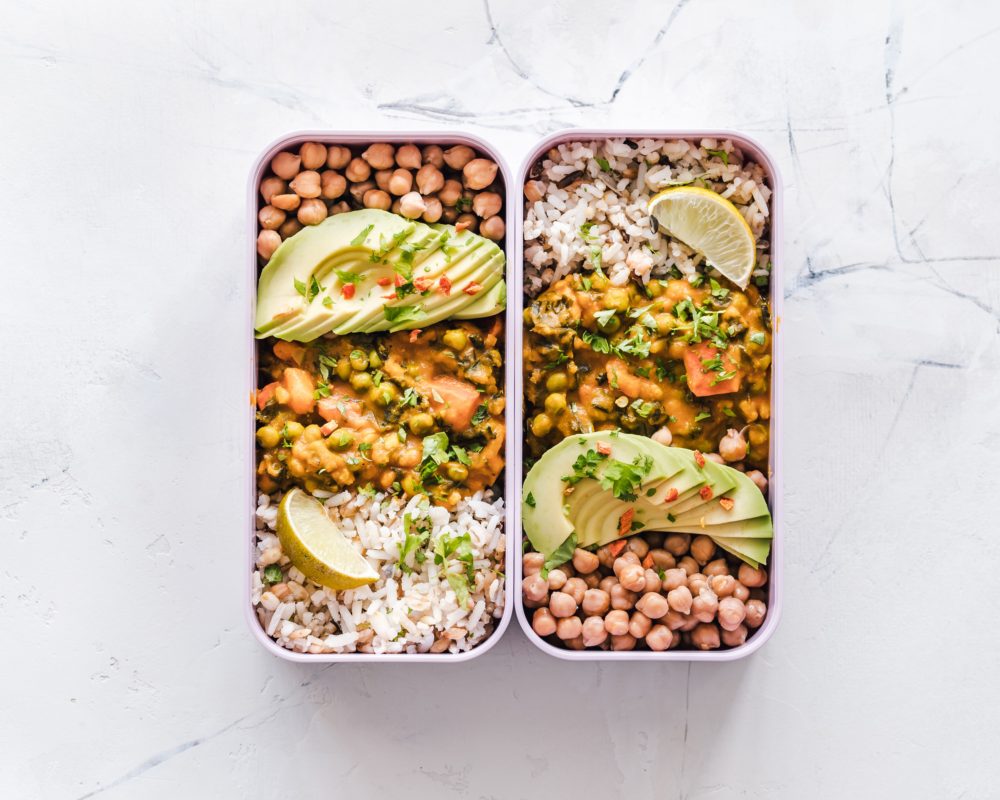
Also, go for the glass meal prep containers (we use these) as these generally last longer and are better for the planet. Plus, you can put these in the oven, dishwasher and microwave. However, you want to make sure whichever ones you go for can fit into your fridge/freezer. So get measuring!
If you’re looking for some glass jars, KoRo have a good range of sizes to choose from. BECKY5 for 5% discount site-wide.

Choose A Day
OK, so now you have your containers and you know what ingredients you have. You now need to pick a day to prep on. Depending on what you’re going to be cooking, it could take you a while so you’ll need to put some time aside.
Some people choose to have an entire day for meal prepping. Others, just an afternoon. Although it might sound like a lot of time to put aside, over the week, it will actually save you more time, especially if you have a plan of attack!
Write A Meal Plan
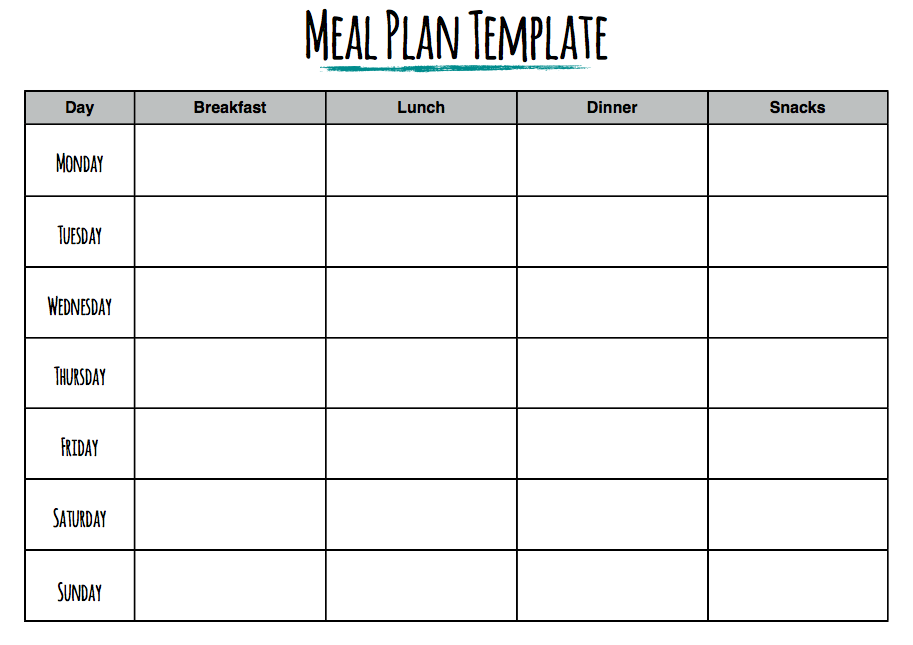
Now you have all the tools you need, plus the time to do it, now’s the time to write out your meal plan for the week. Obviously, this part will change from person to person depending on your tastes, preferences and any specific dietary requirements. You can use this meal plan template below to help you with your planning.
Related Post – What’s Great About Meal Prepping? The Good Prep
To save yourself some time while doing your meal prep, you could do a large batch of one recipe and use it multiple times over the week.
For example, you could make a large batch of bolognese. One day you could have spaghetti bolognese. The next you could have a jacket potato with bolognese. Or perhaps veggies, rice and bolognese. This way you save time and money as you don’t have to buy so many ingredients, so spend so much time making two meals.
Oh and don’t forget to include any snacks you might like to have. Whether these are homemade snacks, or store bought.
Healthy Meal Prep Ideas
There are so many great healthy meal prep ideas you could use to suit your dietary needs. You just need to think outside the box. Depending on what you like, here are a few ideas to get you started…
- Vegan Chocolate Chip Cupcakes Recipe
- A Simple, Creamy Vegan Tomato Macaroni Cheese Recipe
- Vegan, Refined Sugar Free, Dairy Free Ginger Biscuits
- Healthy, Creamy Avocado Noodles Recipe
- Homemade Refined Sugar Free Breakfast Banana Muffins
- A Quick & Easy Homemade Hummus (Houmous)
Write Out Your Shopping List
It’s unlikely you’ll have everything you need to do your weeks worth of meals so next you need to write down the items left to buy.
To save you a bit more time, write out your shopping list in sections and plan your time in the supermarket. For example, put all the fruit together, all the veggies together, meats…etc. This way you can be in and out in minutes! We’ve got this down to 10 minutes to do a full shop these days!
Also, try to go when the shop will be at it’s quietest so you can whizz round without having to queue, or fight for items.
Start Cooking
Now you have your containers, all the ingredients you’ll need and your meal plan, it’s time to start the cooking. If you have a spare table slightly out of the way, lay out all of your containers with their lids off, ready to go.
When it comes to knowing what to start first, try starting with the recipe that’ll take the longest to do. This means while it’s cooking away, you can focus your time on other recipes while you wait. Being efficient with your time while prepping can make a huge difference to how long you’ll be in the kitchen.
Related Post – Swaledale Butchers Meat Delivery Box Review
One aspect that will also make your life easier is to clean up as you go. This way you won’t face a sink full to the brim of dishes, pots and pans when you’ve finished. It also means you have spare pots and pans to use for other recipes.
Serving Up
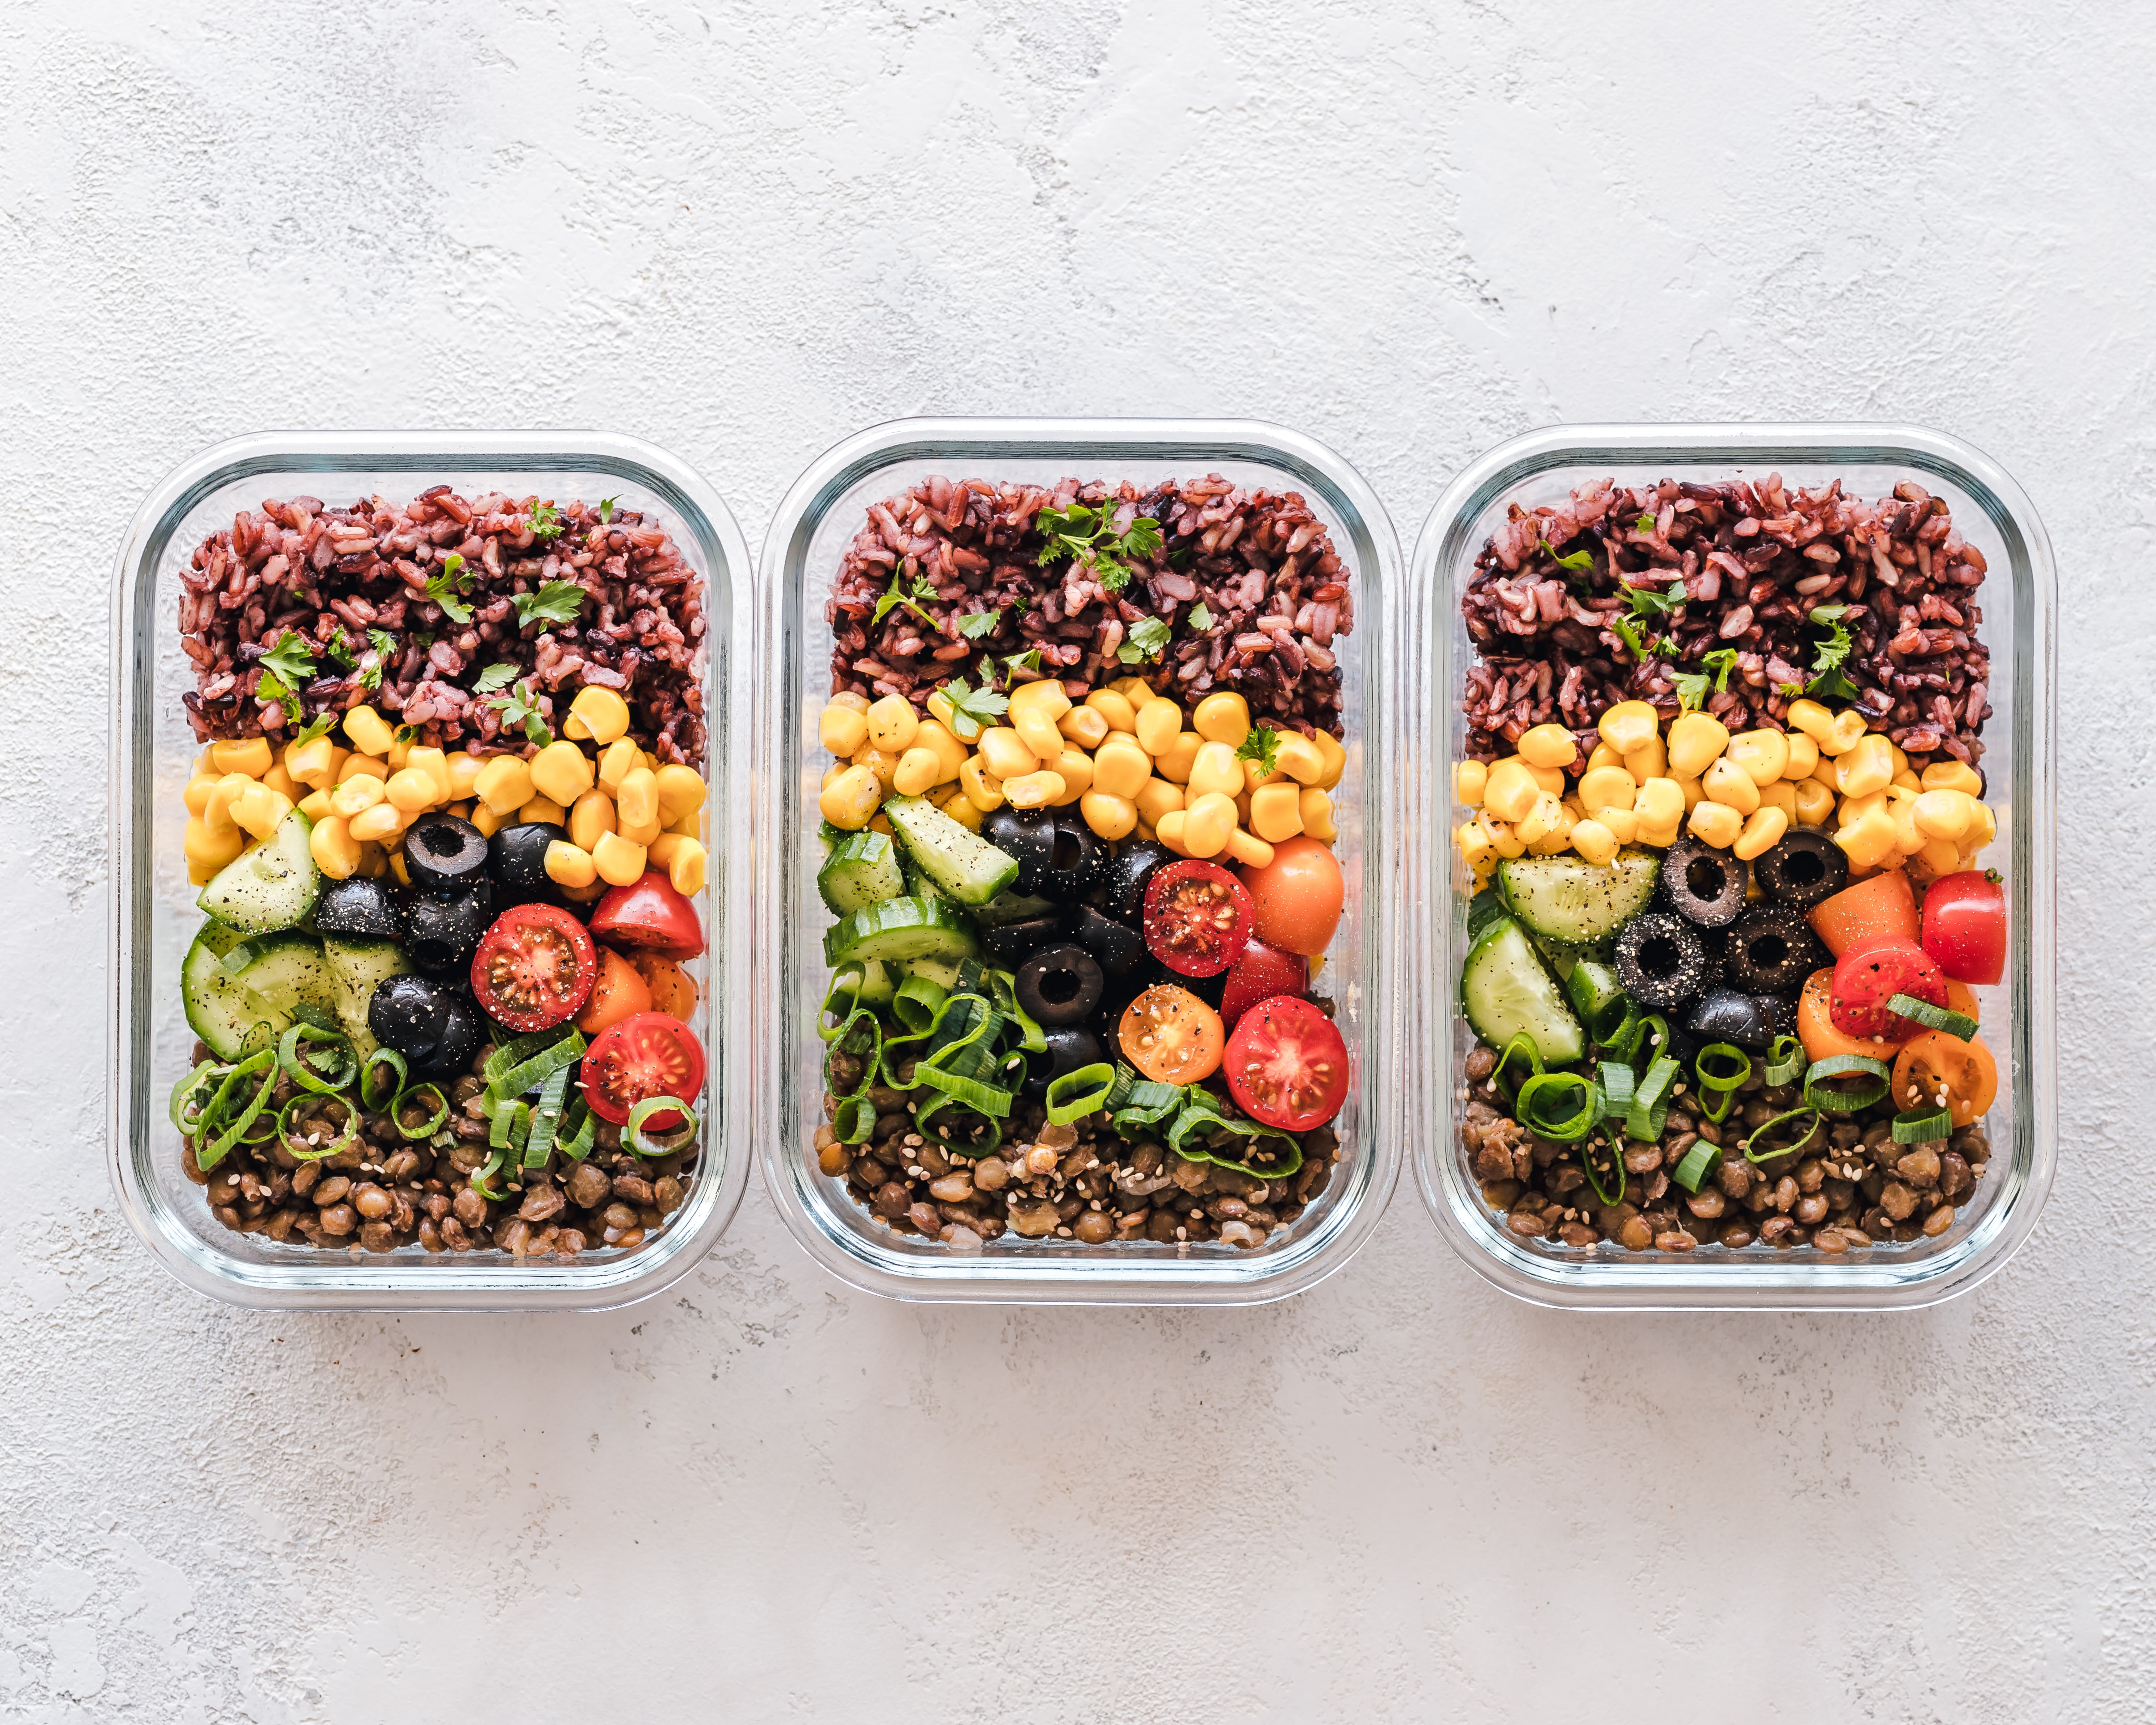
Once you’re meals are cooked you want to start dishing things up in to their containers. If you can, put the heavier things, or things with sauce on the bottom and as separate as possible.
For example, if you’ve made bolognese, put your desired portion of this at one end of the container, with perhaps the rice/pasta at the other end. Then if you’re adding any veggies, place these on the top of the rice/pasta.
Quick note – when it comes to re-heating the veggies, splash a little water over the top of them before microwaving as this will help stop them burning.
Food Storage
As this food is fresh, you can’t put 7 days worth of fresh food in the fridge as it just won’t keep. So, you should put 3 days worth in the fridge, and the rest in the freezer (except fresh fruit). Then the day before you want whatever is in the freezer, you simply take it out the night before and leave in the fridge to defrost.
You also shouldn’t ever put hot food straight in to the fridge or freezer. Portion everything up and leave it to cool before putting it away in the fridge or freezer.
Tips To Keep Things Fresher For Longer
A great little tip is if you plan on having carrot sticks, for example, put them in a jar of water after you’ve cut them up. This will mean they last longer and won’t go all dry and horrible. Then you just take them out of the water the day you plan to eat them. This can also be done with celery sticks.
Another top tip to keep your fresh fruit looking fresh is to drizzle a little lemon juice over them once you’ve cut them up. This will help to stop them going brown. This also works on avocado to top them going brown.
Hopefully this article has been helpful to you starting your meal prep journey! What are your go to healthy meal prep ideas?
Leave a Reply